After starting a competition with my housemates to see who could run the fastest lap around our house, I decided to build a proper timing system for the challenge.
The result is this: a compact, easy to use laser timing gate. It needs just 5v of dc power and a strong light source to operate.
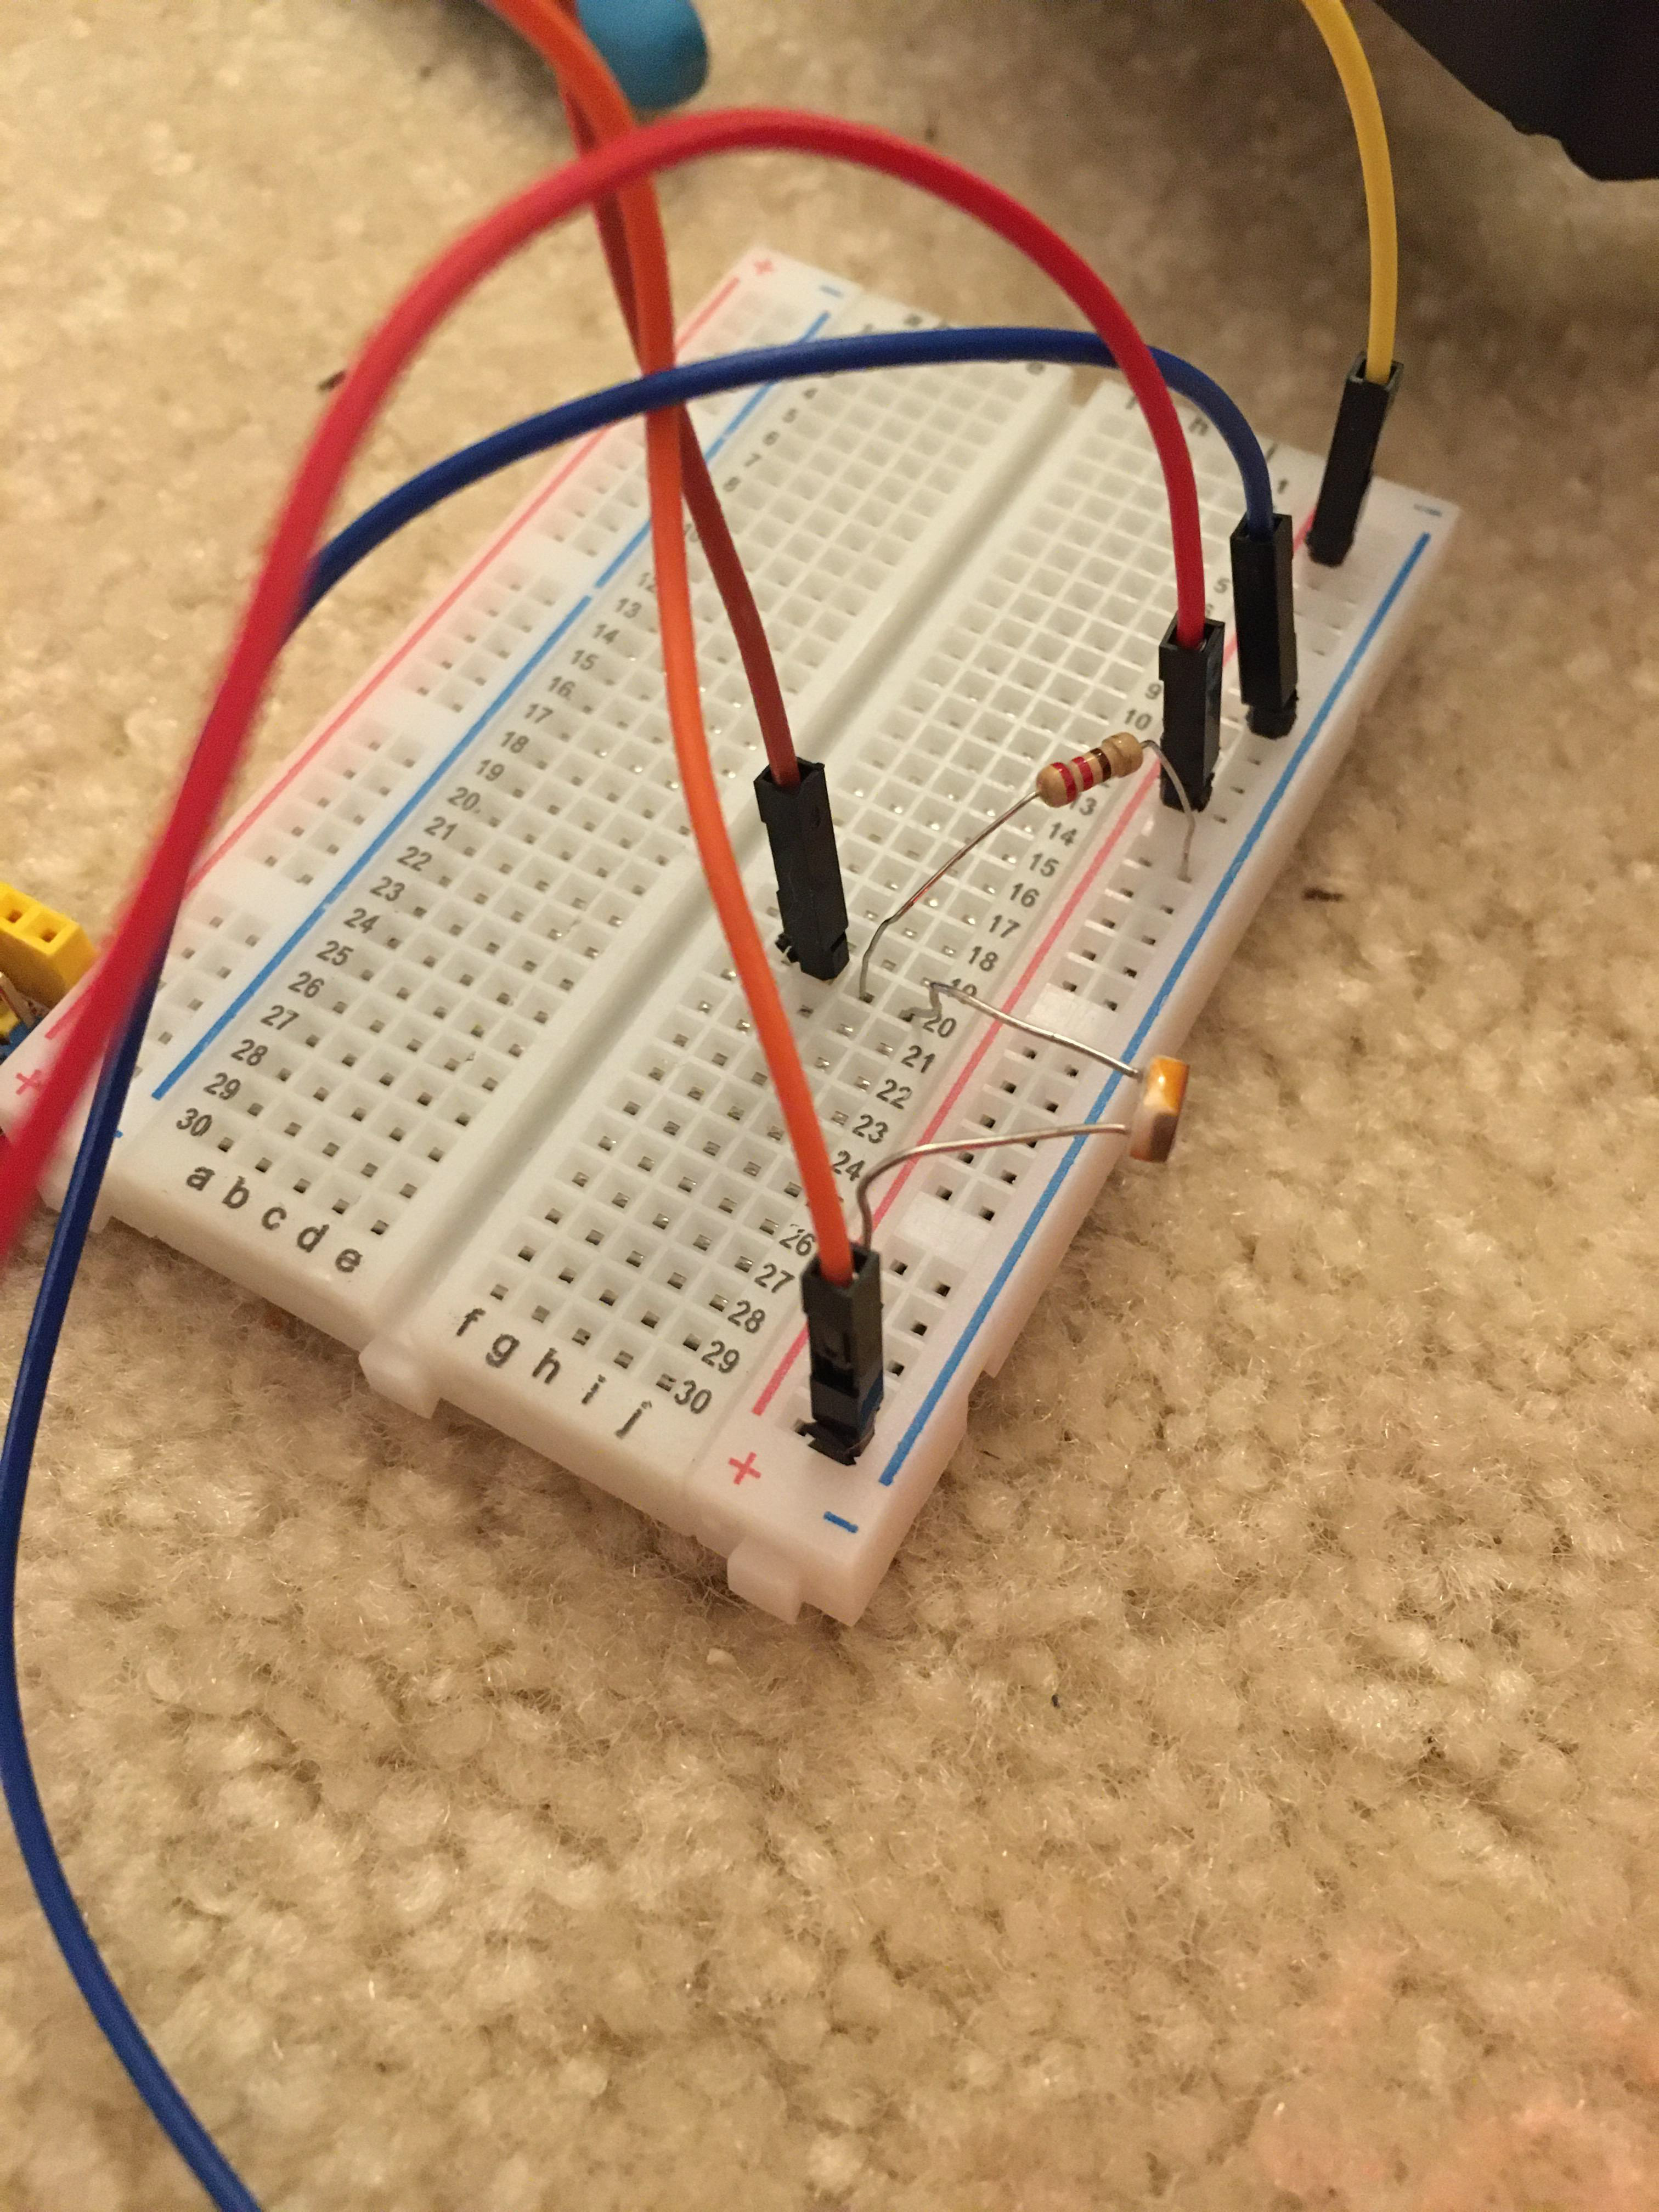
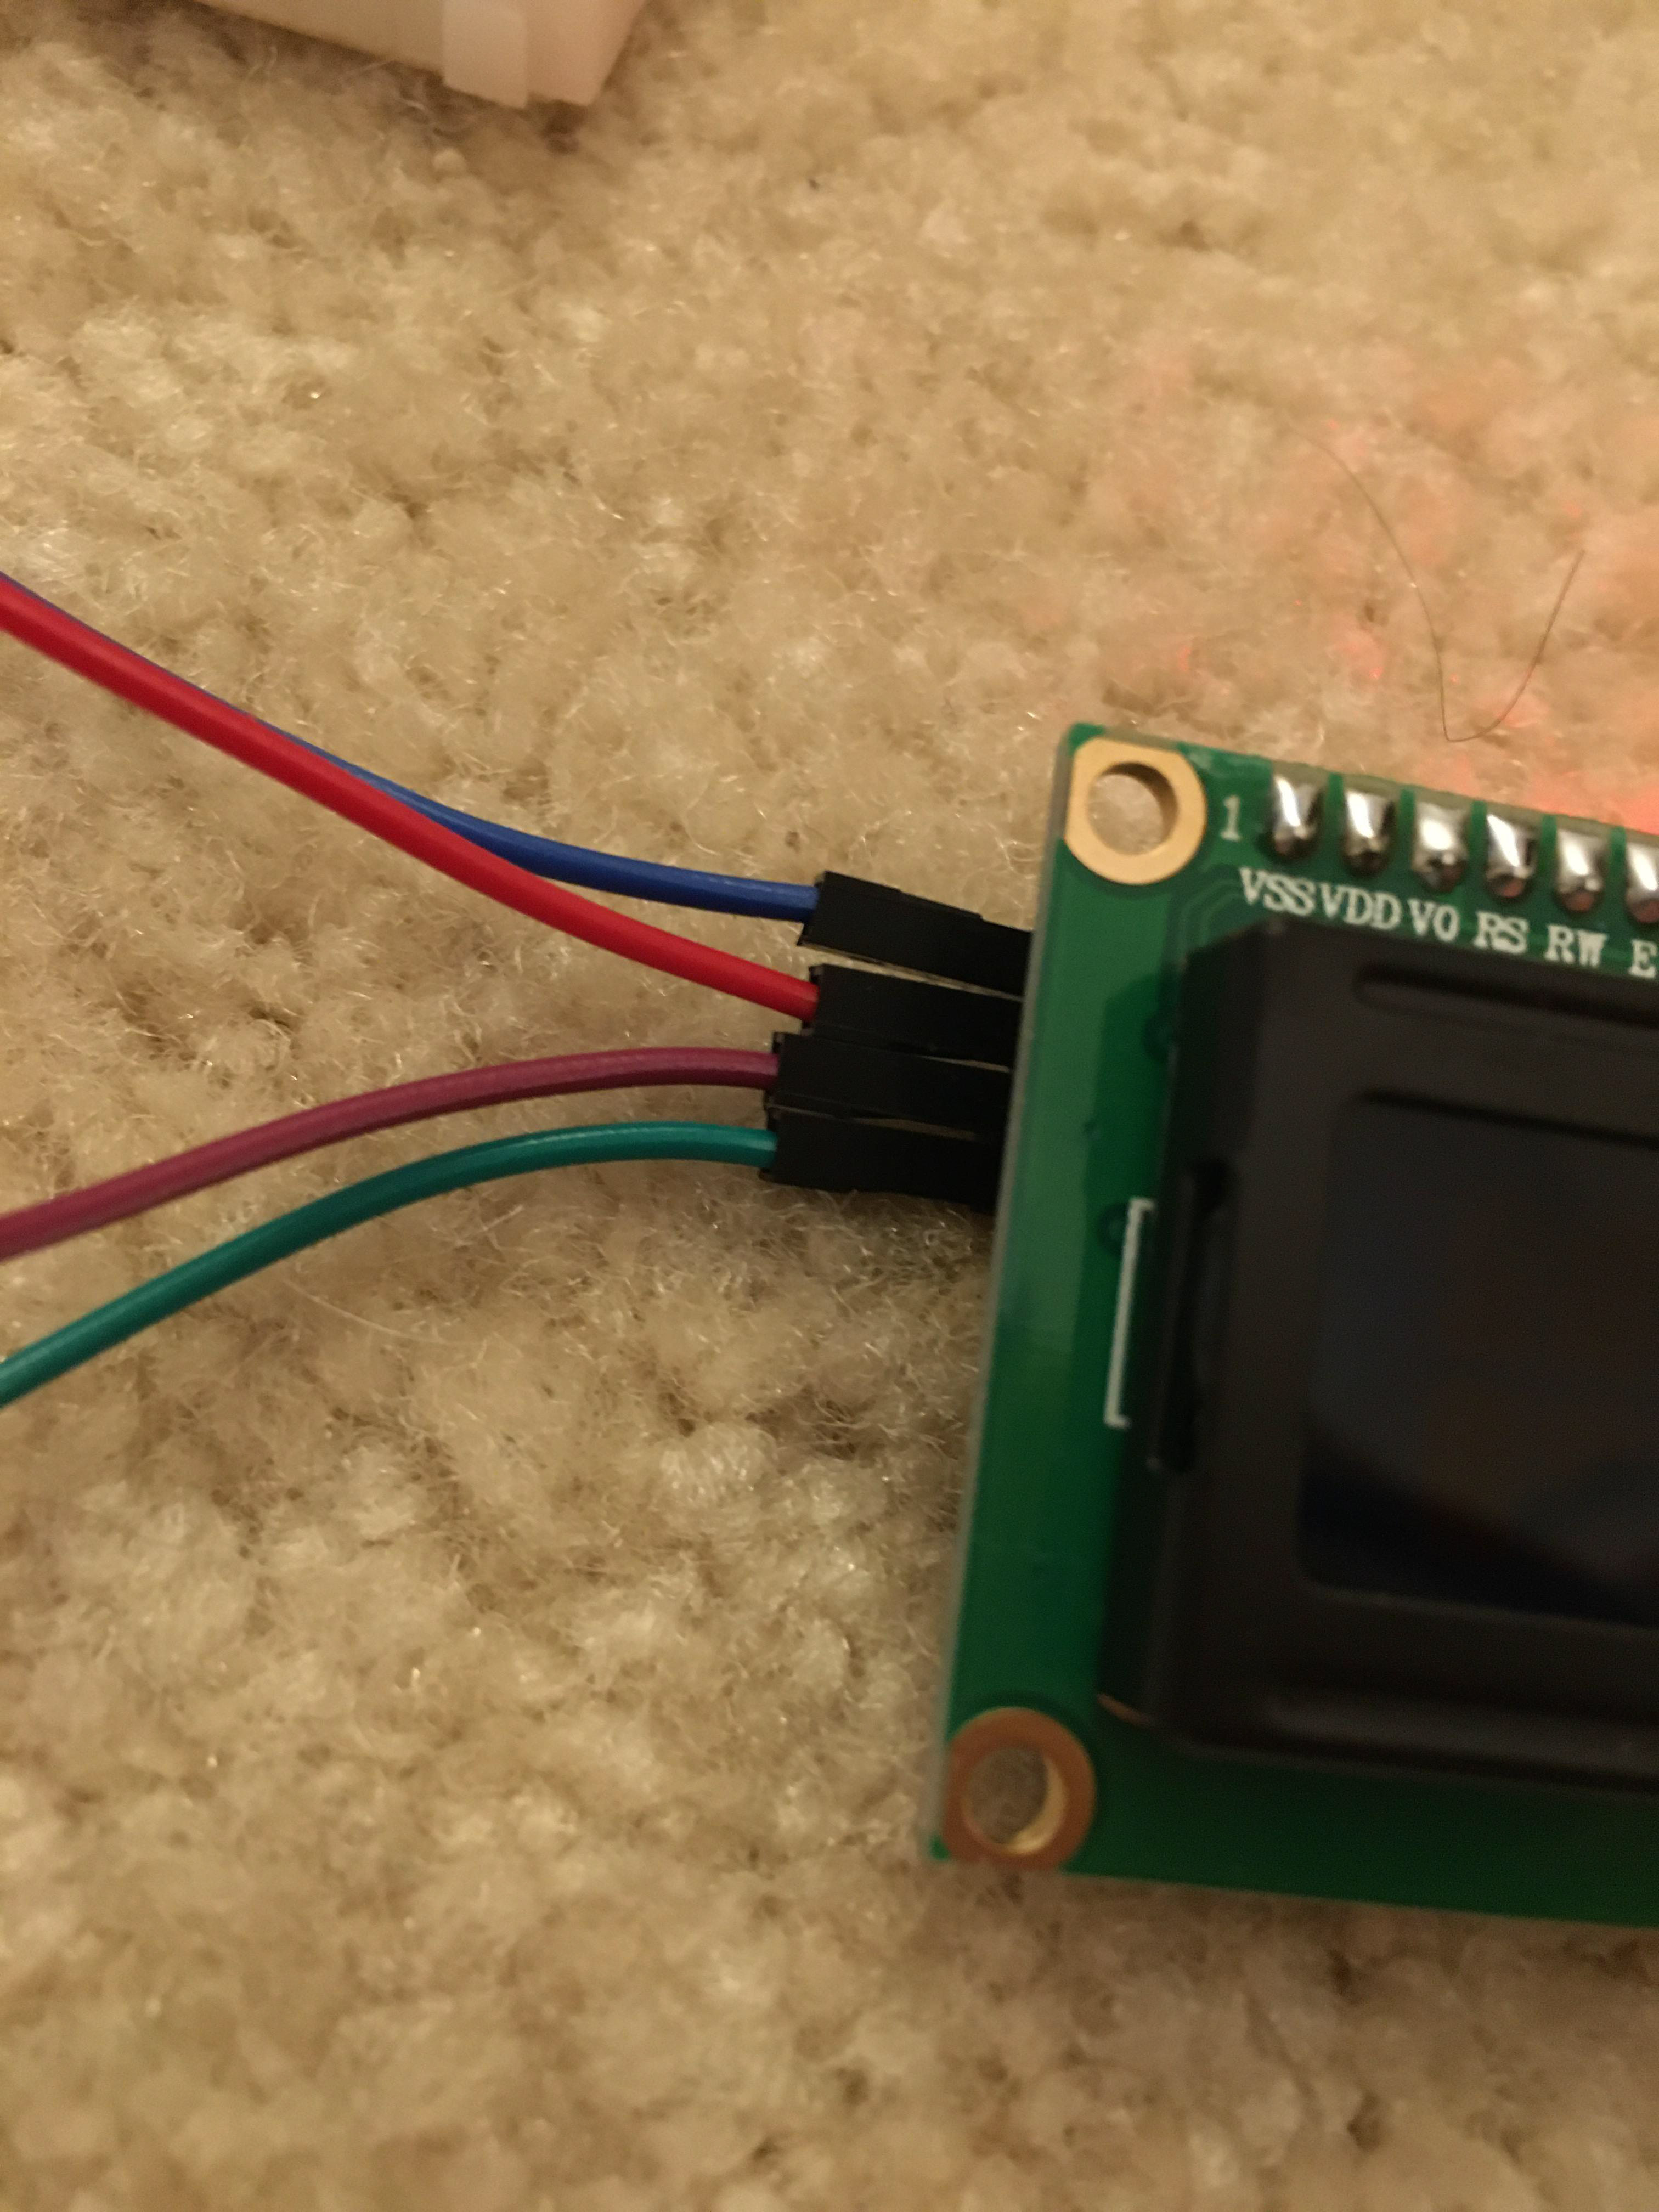
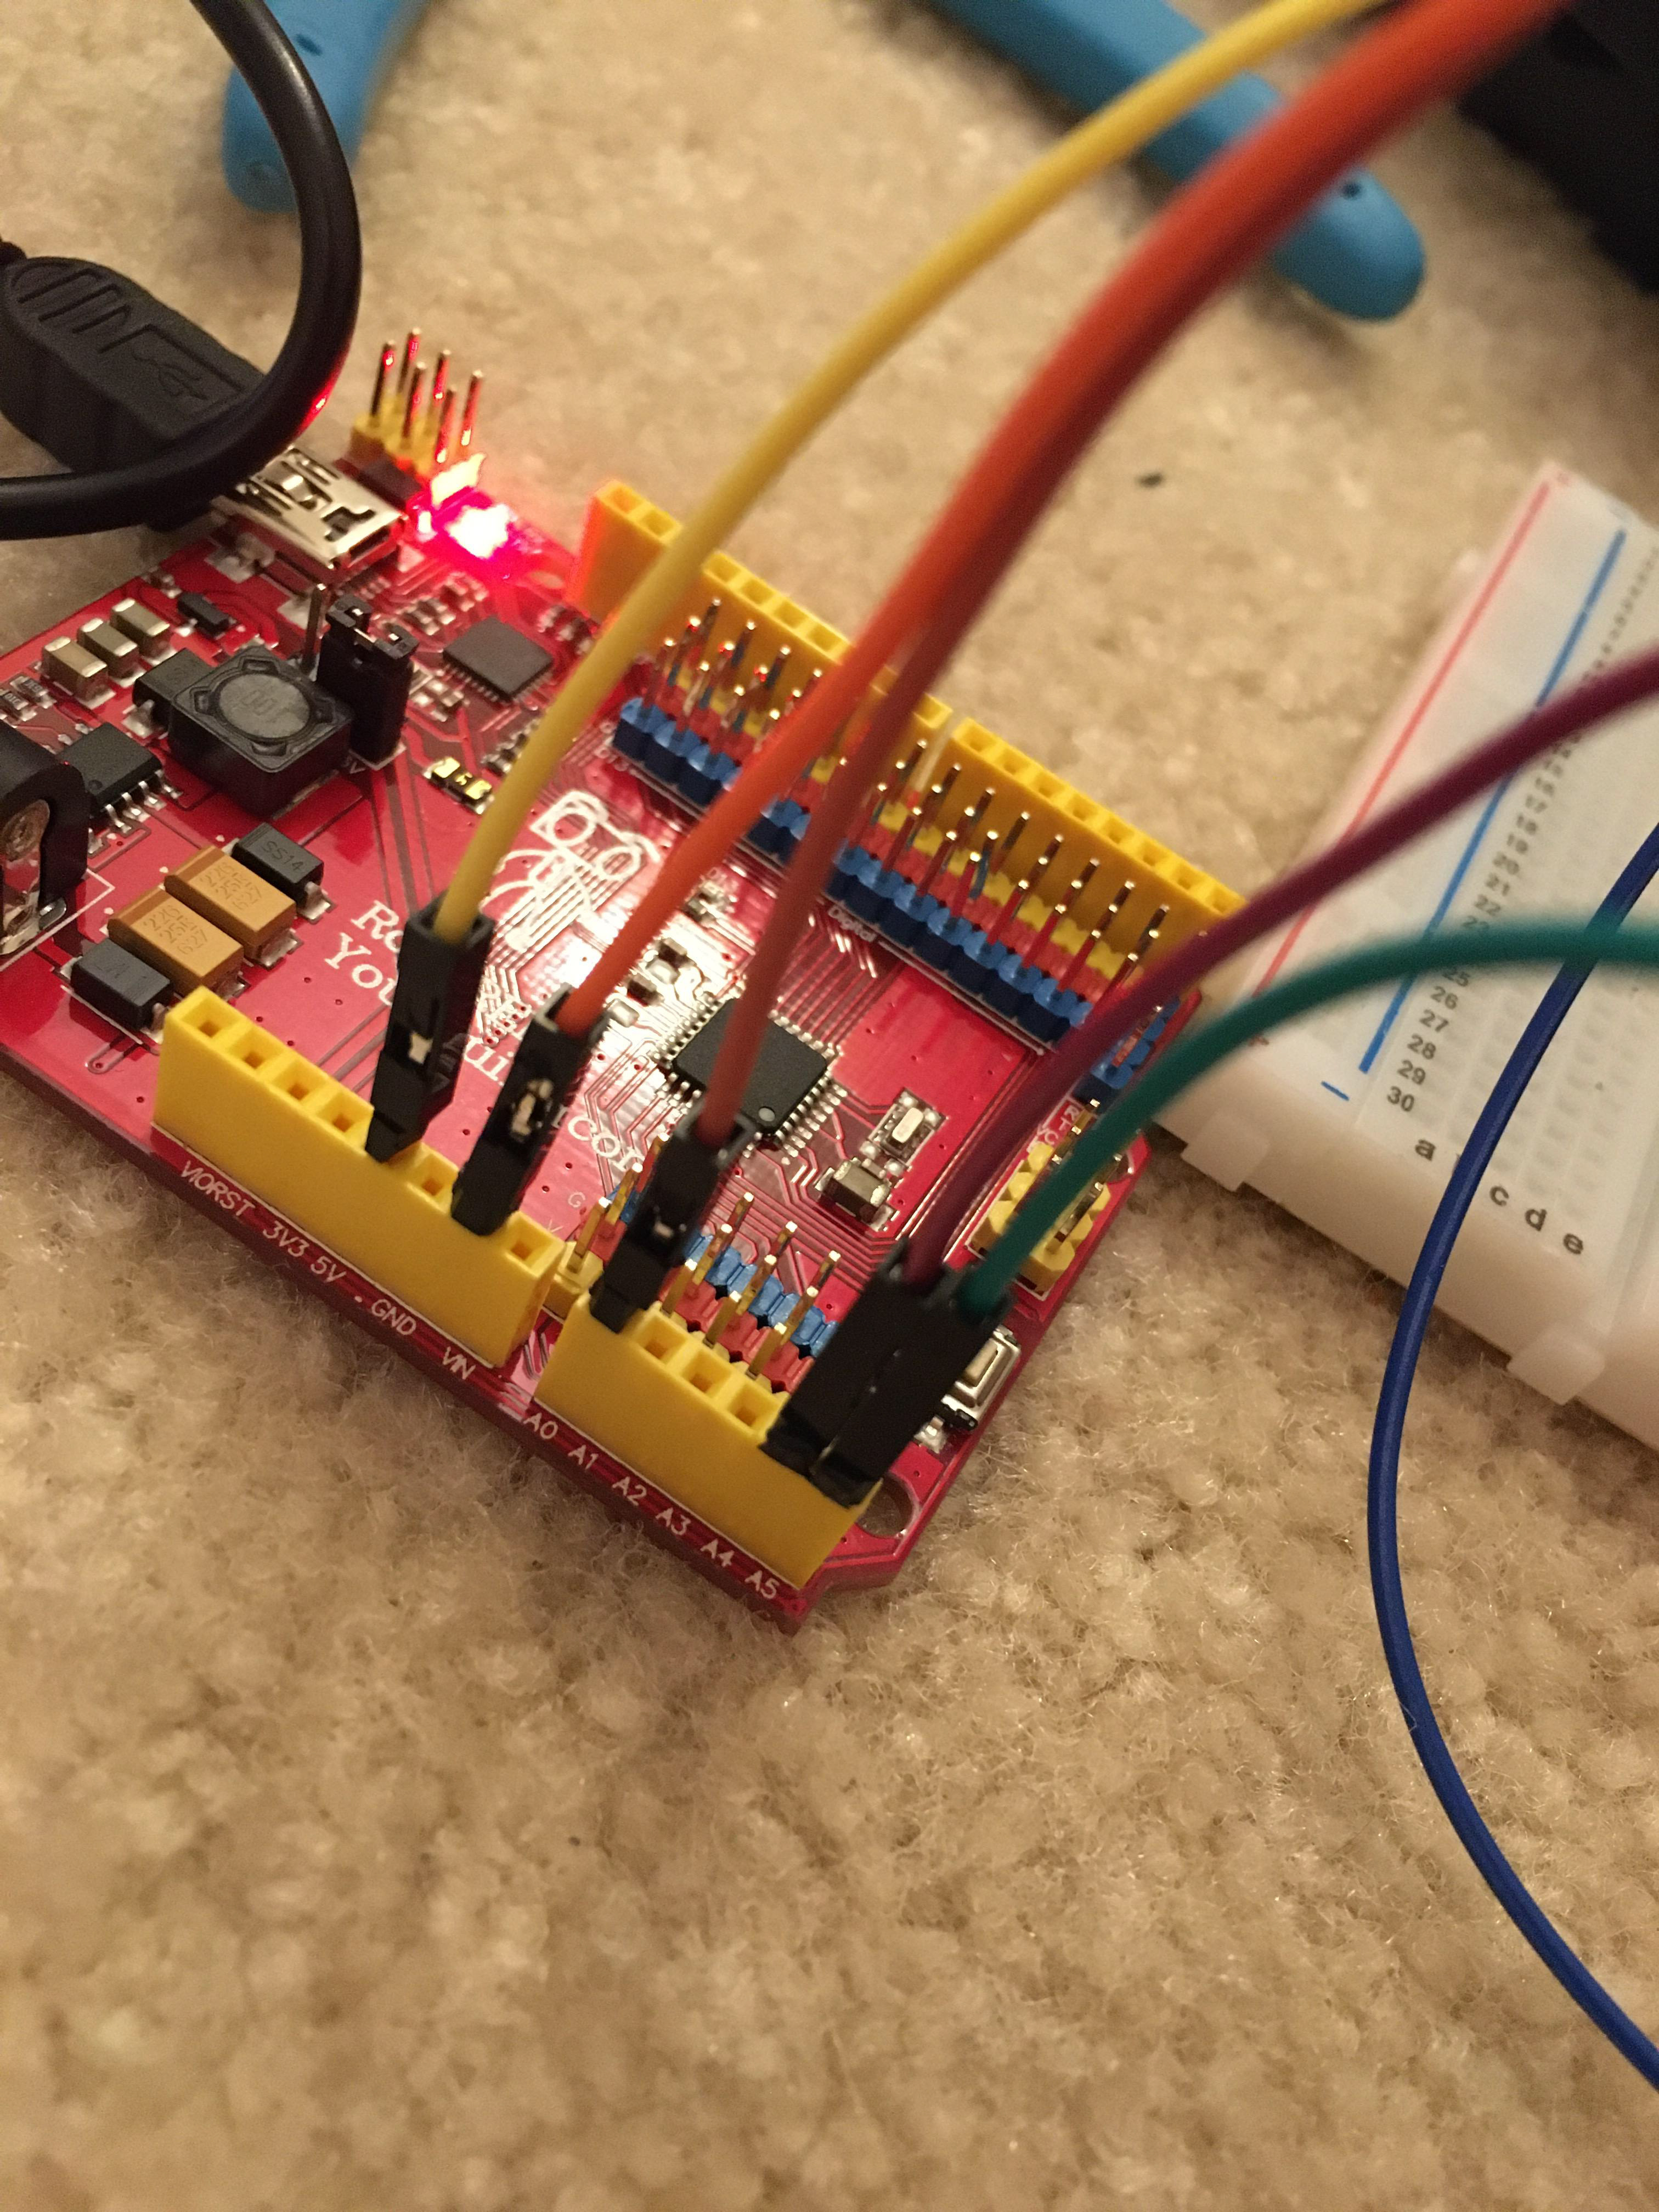
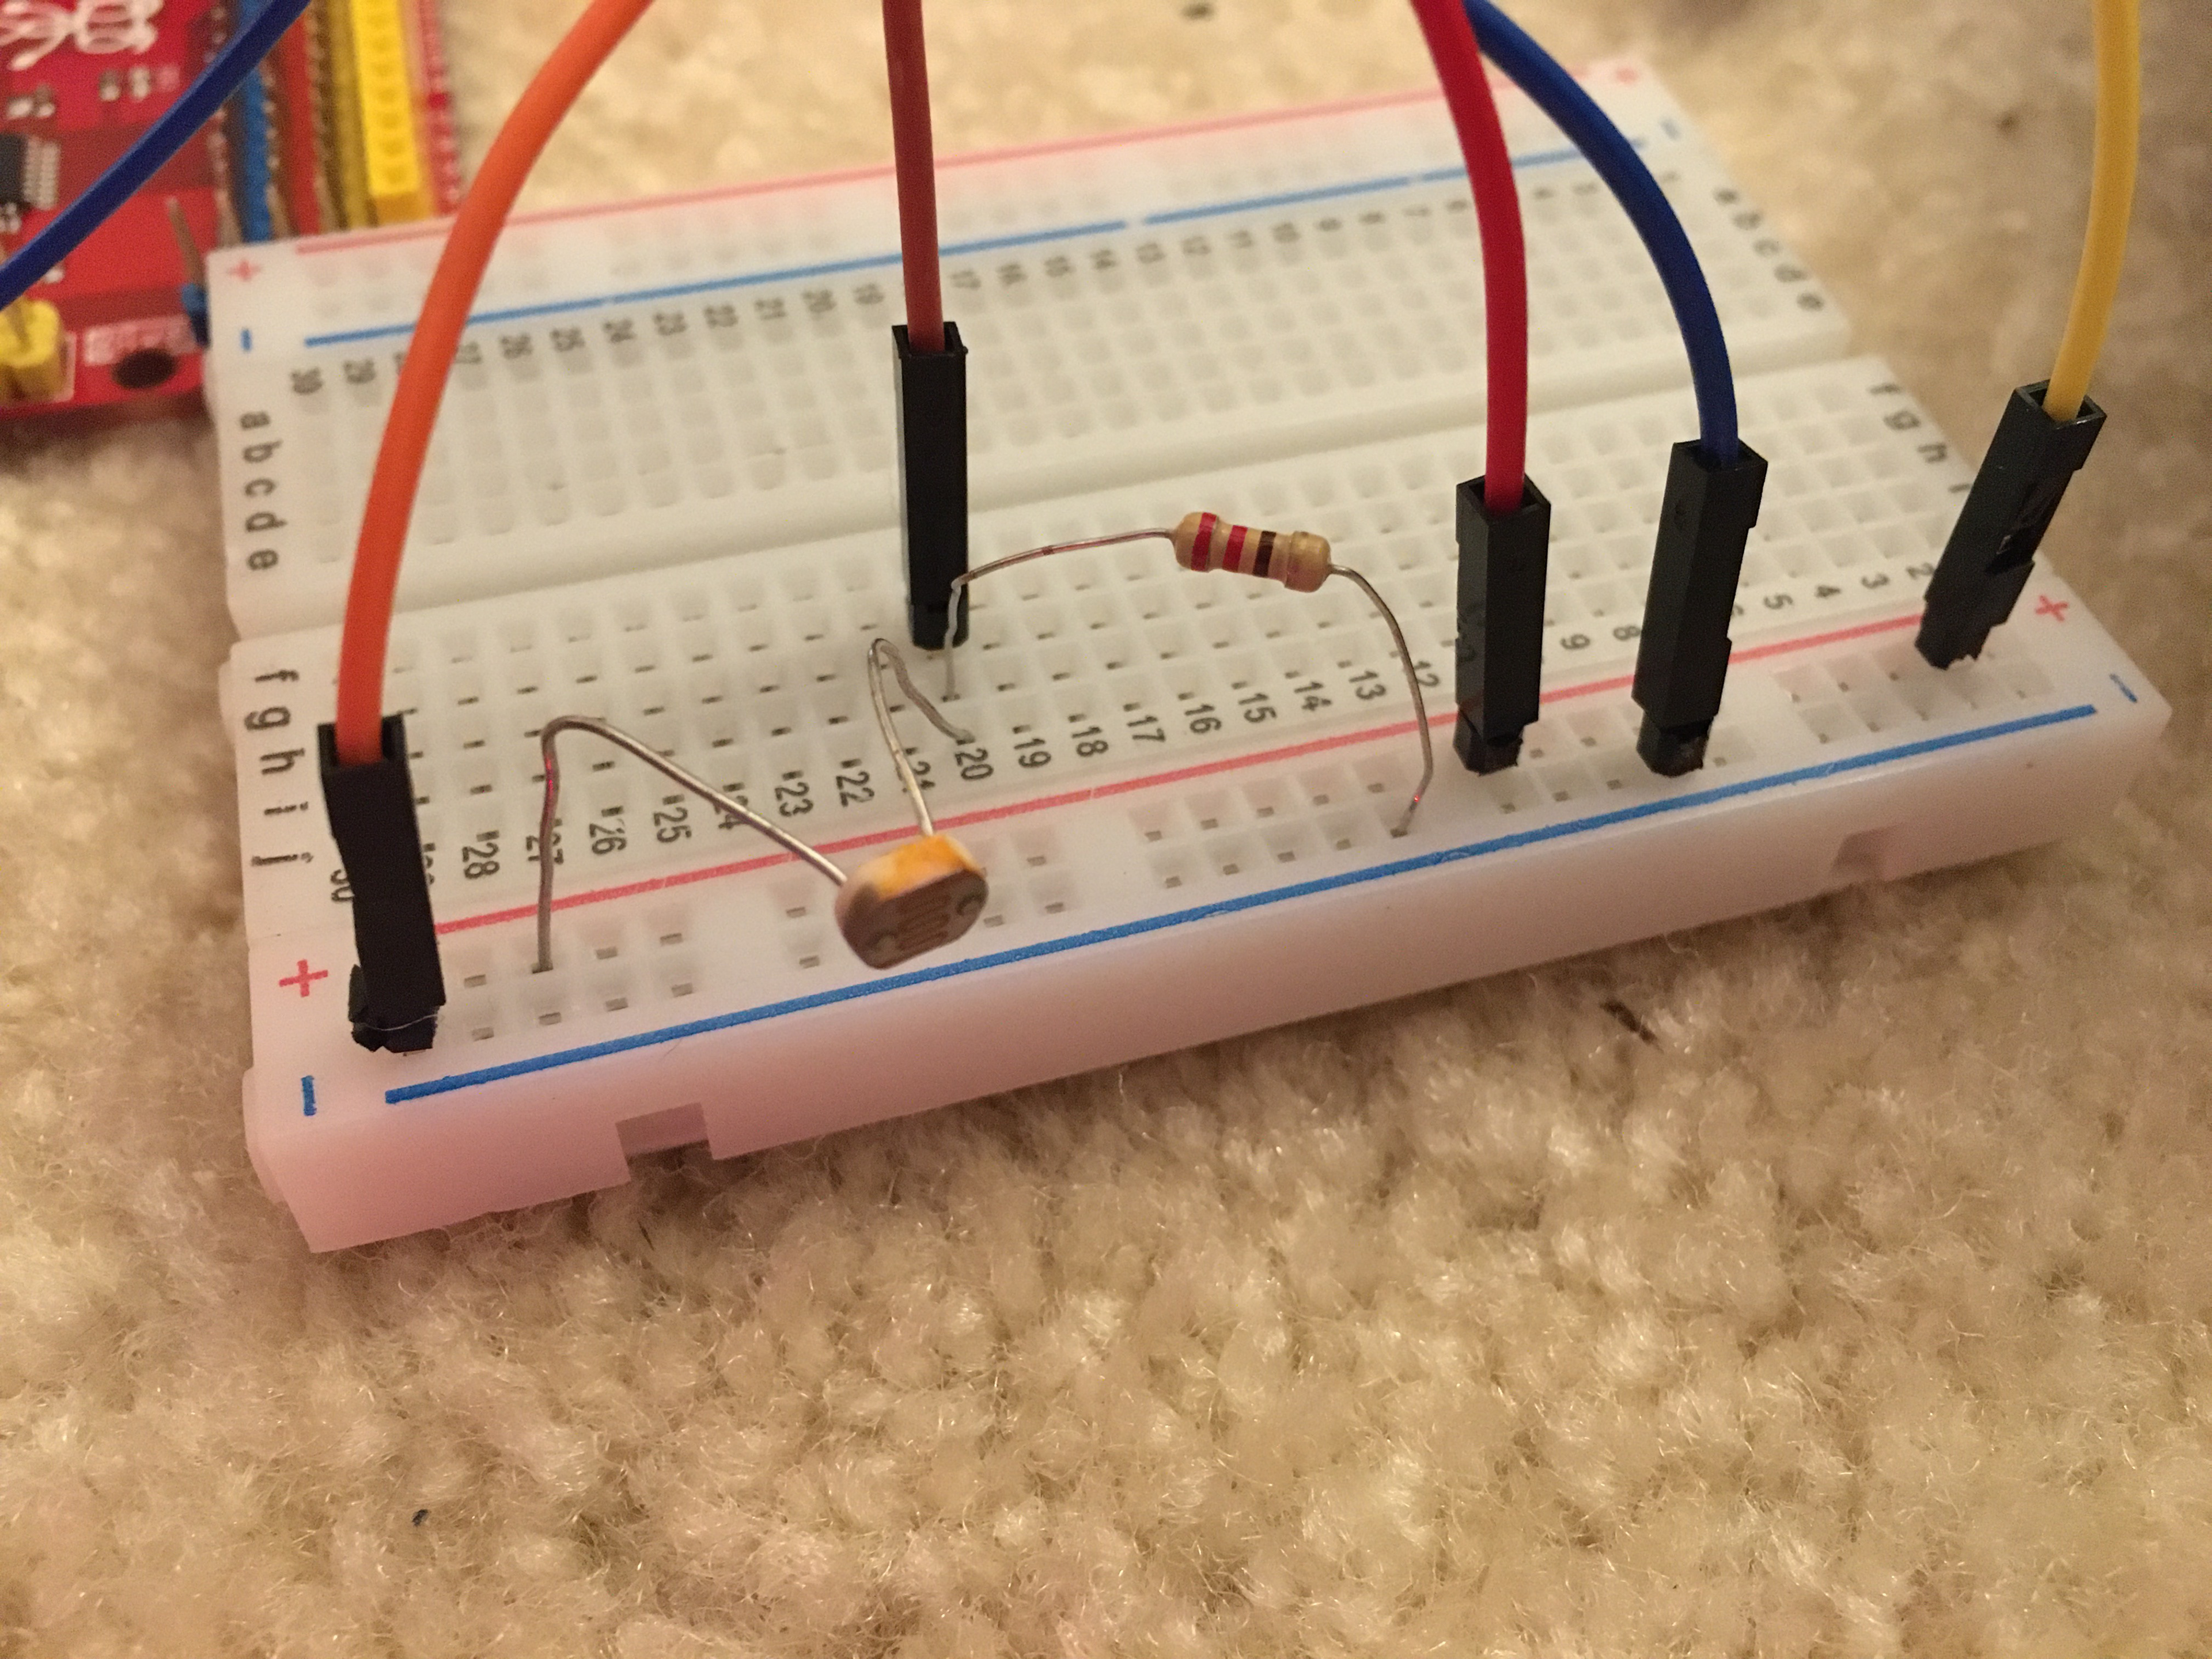
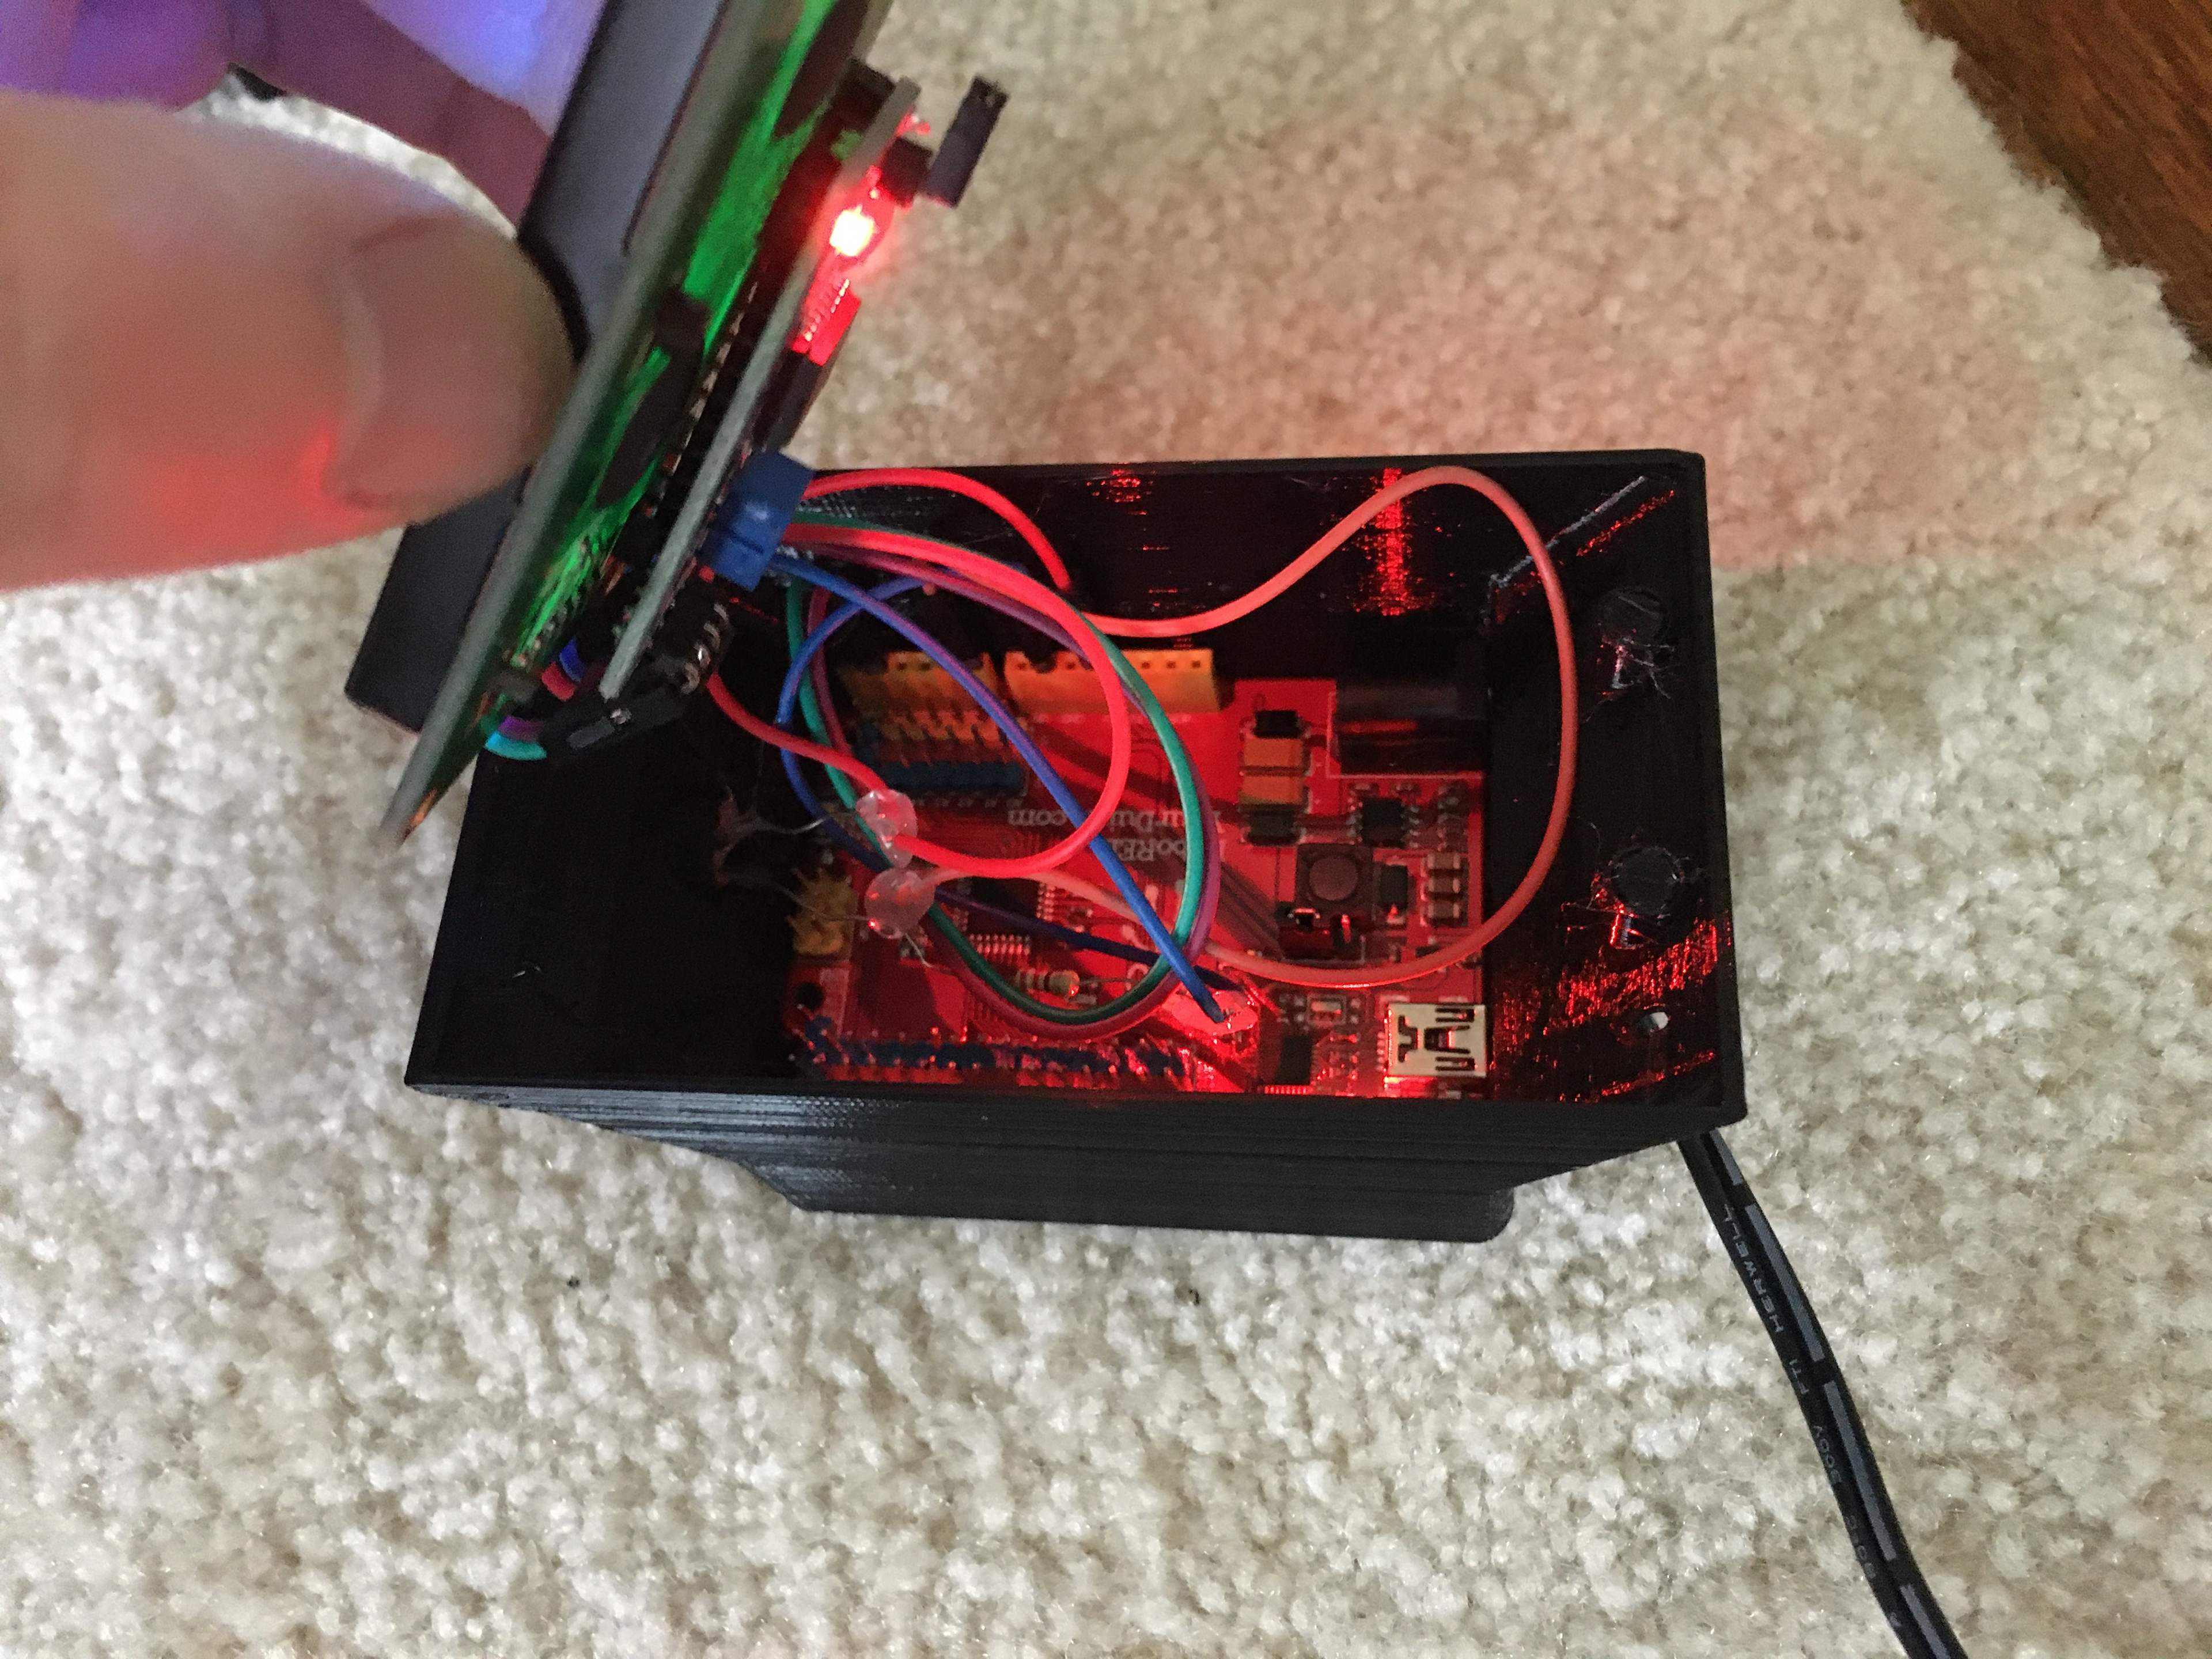
I started the project using an Arduino Uno and spare electronics. In addition to the arduino, the only other necessary components are a photoresistor, ~230 ohm resistor, and LCD display screen. For this project, I used a LCD I2C display, which simplifies the required code. Below are photos depicting the breadboard prototype setup for the timing system.
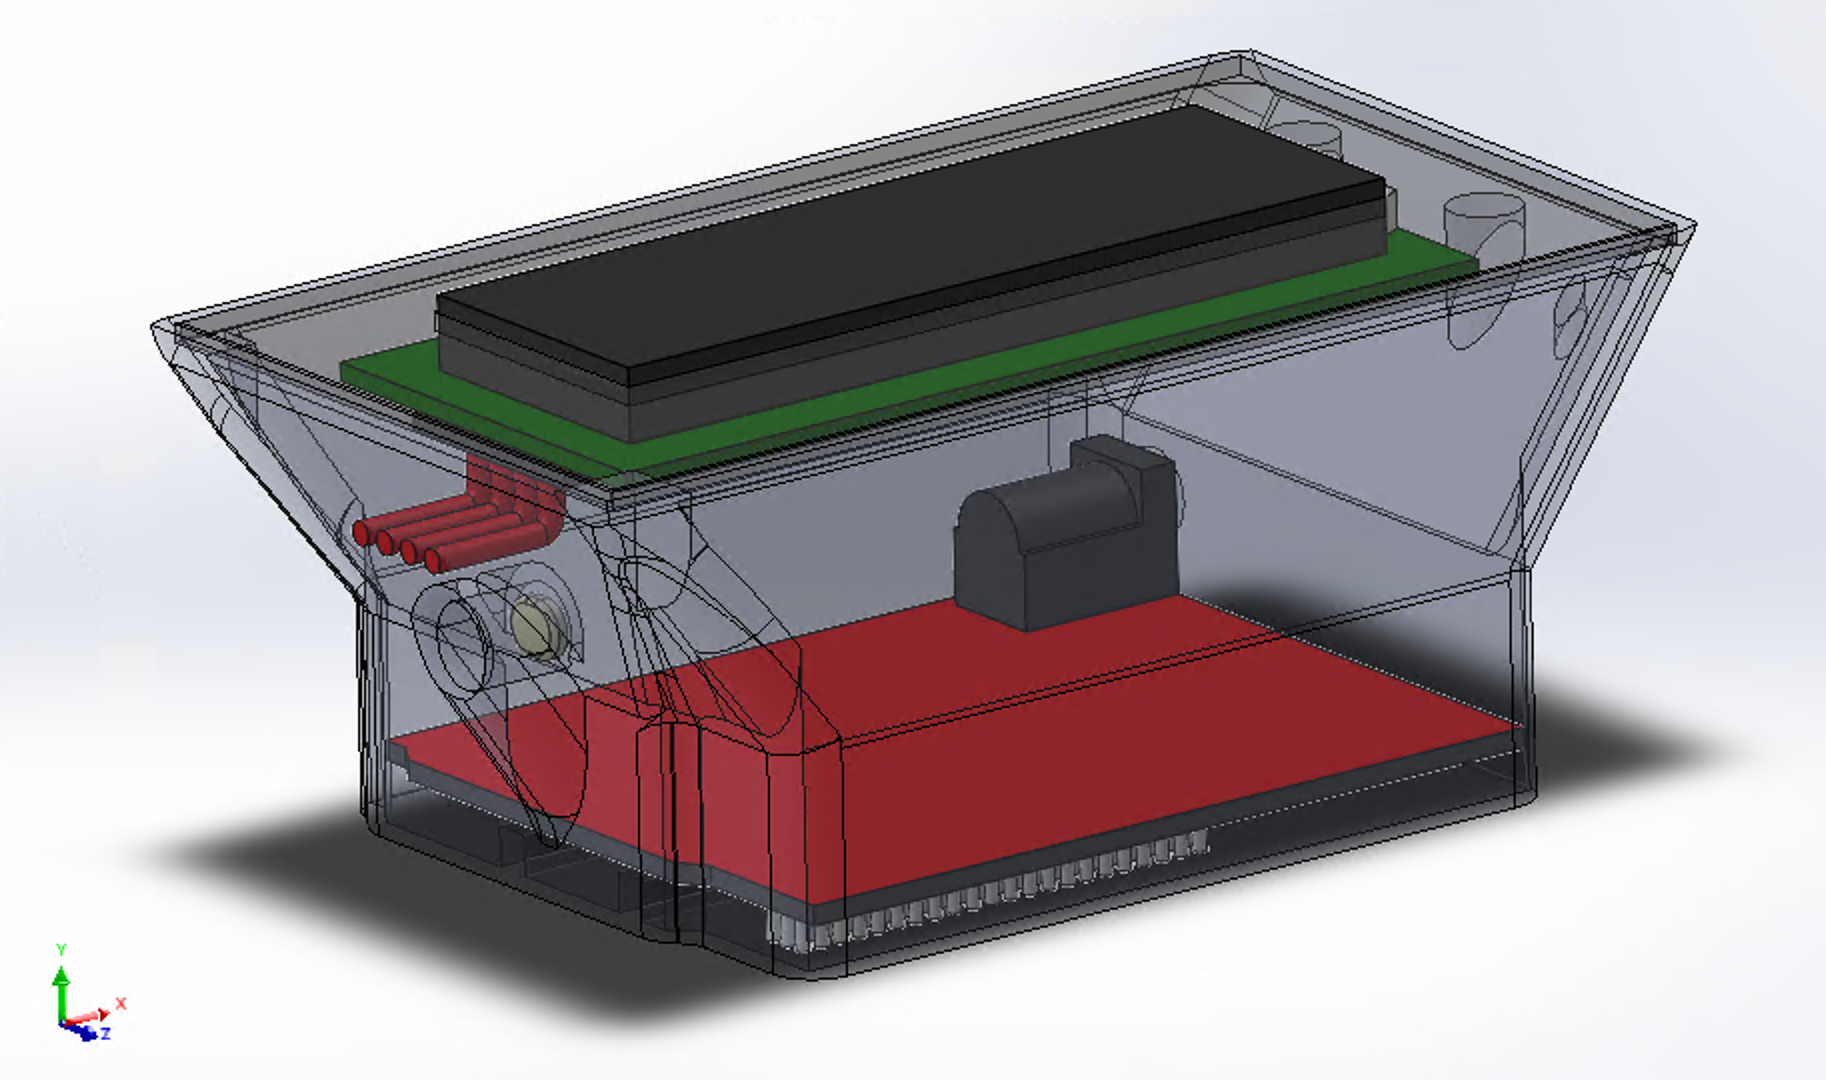
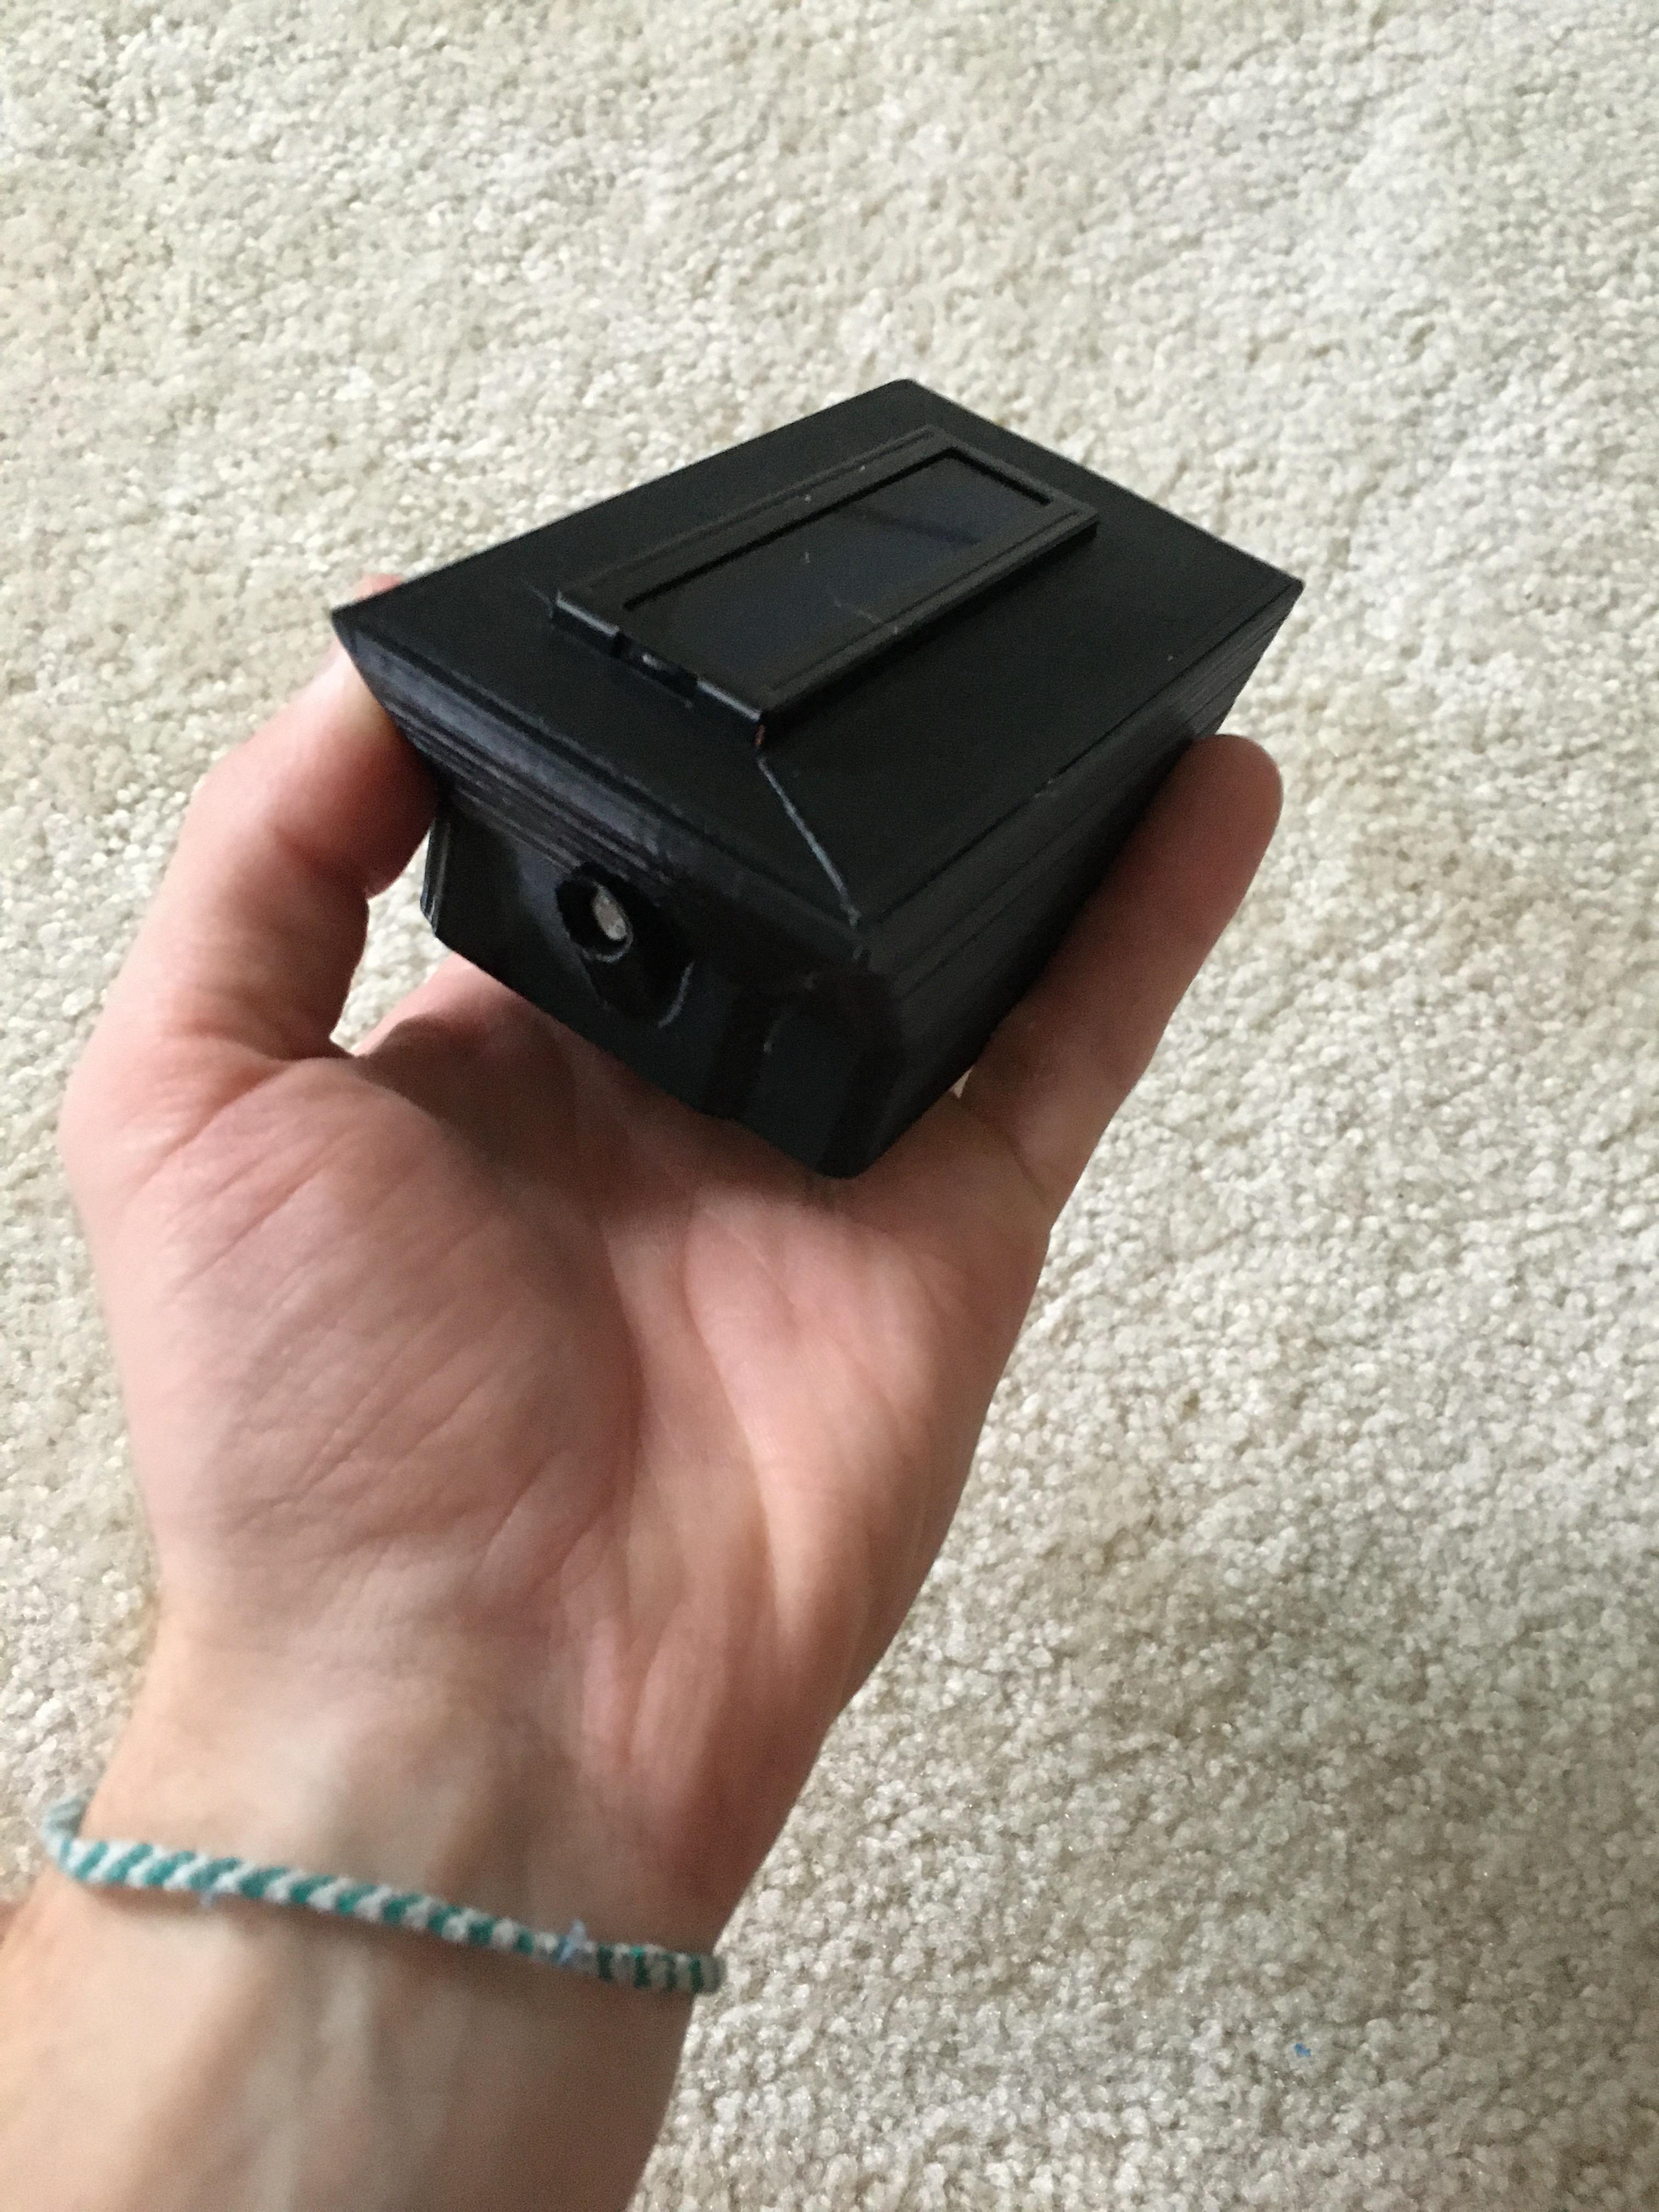
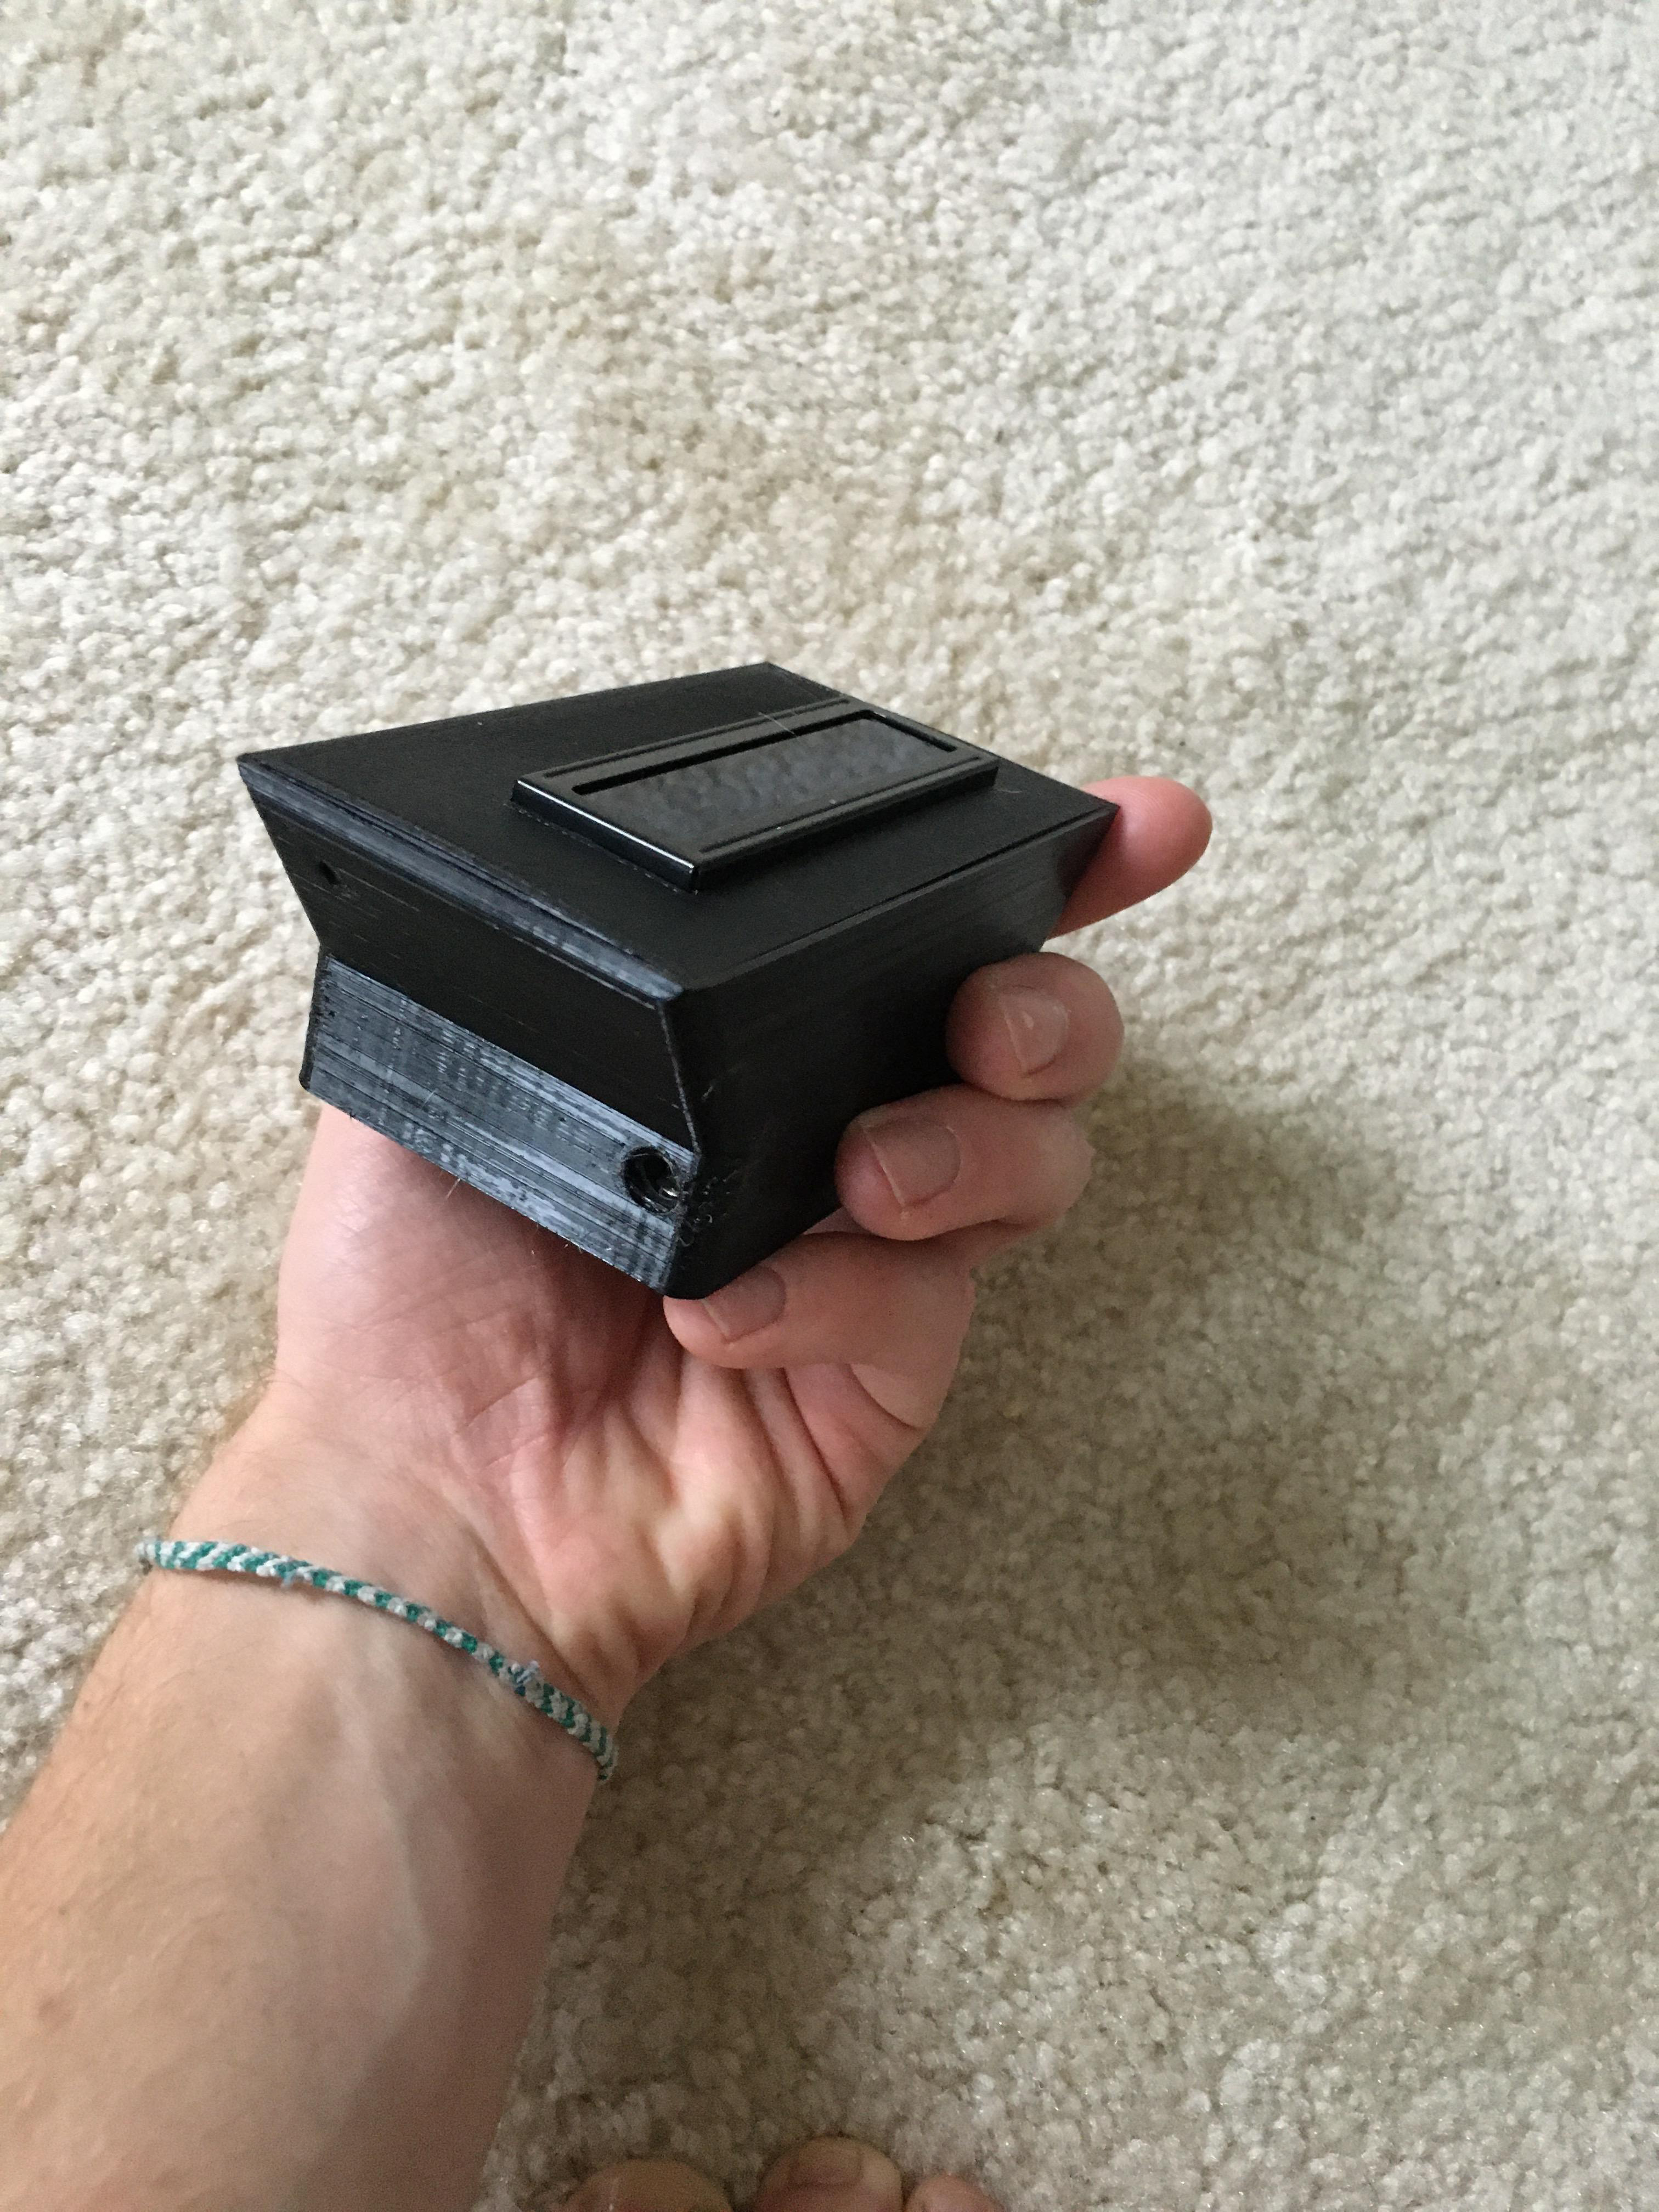
After ensuring that the electrical components were functioning, I modelled a housing for the system in solidworks. The arduino fits snugly into the bottom of the housing, and the 5v dc port is still accessible. The photoresistor can be glued in place, and the lcd screen is pressure fit into the top panel. Once complete, the assembly needs only to be plugged into the wall, and it begins running.
And here it is in use! the final product.
You can see it plugged into the wall and hung on the right side of the doorframe. A laser shines across the doorway onto the photoresistor.
You can see my housemate bailey run a lap, not quite record pace, but pretty fast!!